I'm adding two cards today because my computer is going in for it's yearly check up & I don't know how long it will be there.
The floral card is a super easy Sympathy card. I cut out an oval & placed it in the center then stamped the background over that. Stamped the sentiment in the center & added a ribbon.
The green one was also an easy one to make. I put a navy strip of card stock accross the top & added the ribbon through the center. The image was stamped on vanilla card stock & attached to the strip. This card can also be used for a male birthday, just change the sentiment.
Thanks for looking. Have a Blessed weekend, Rita
Friday, June 30, 2006
Sympathy
Thursday, June 29, 2006
Angel
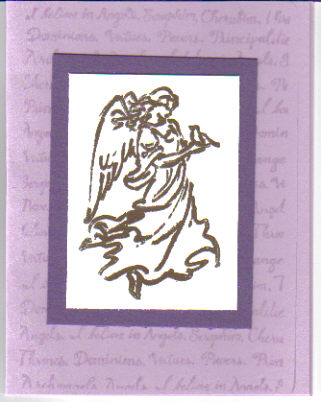
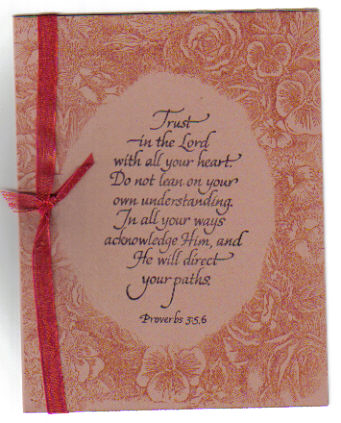
The background stamp used is called Angel Poem. I thought it was perfect for this Angel stamp. The Angel is embossed in gold on glossy white card stock. The other colors are two shades of plum. This card could be used as a Sympathy or Note Card. Thanks for looking..........Rita
Wednesday, June 28, 2006
Note Card
 Just a simple Note Card. I added silver brads to the bottom. This is another one of my favorite stamp sets. I have over 100 sets & more coming. I really need to dig out some older ones & re-introduce them to the ink pads. Thanks for looking.
~~Rita~~
Tuesday, June 27, 2006
Happy Birthday Brother

I made this card for my husband's brother. I used the Weathered Background stamp to make it look more like wood. The colors match better than they look in the scan.
Thanks for looking.
Monday, June 26, 2006
Monday Morning

Good morning all. Hope everyone had a nice & restful weekend. Today's entry is a quick & easy Note Card. I just love the Cheesecloth background stamp & thought it would look nice on this card. This is another one of my favorites. Thanks for looking. Feel free to comment..
~~Rita~~
Friday, June 23, 2006
Last Entry This Week
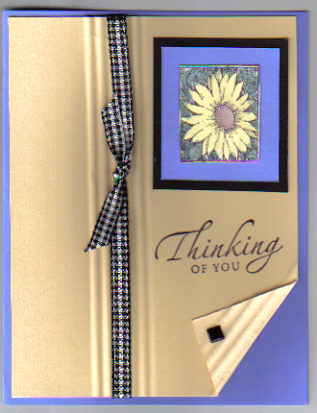
This has to be one of my all time favorites. I just love the way it turned out. I haven't used my paper crimper in a long time & thought it was time to get it out again. The flower was colored with an Aqua Painter. The corner is turnd up & secured with a black aquare brad.
Thanks for looking & have a Blessed weekend. ~~Rita~~
Thursday, June 22, 2006
Thank You

I wasn't sure how this card was going to turn out, but I'm somewhat pleased with it. Everything was done with 1 stamp, except the sentiment. Thanks for looking..Rita~
Wednesday, June 21, 2006
Note Card

I made this with my new stamp set. This is another one of my favorite color combinations, Burgundy & Navy. The background was double stamped to use both colors.
Thanks for looking. ~~Rita~~
Tuesday, June 20, 2006
Old Lady B'day
 I did this one for fun. The coloring was done with an Aqua Painter to give it a watercolor look. Click on the card to enlarge it so you can read the tag. Thanks for looking. ~~Rita~~
Monday, June 19, 2006
Anniversary
 Did this one yesterday. I can't decide if I like it or not. Inside says Happy Anniversary.
Thanks for looking. ~~Rita~~
Friday, June 16, 2006
Grateful
 Floral background stamped with green on white card stock. I cut an oval then attached it to the green card stock. The flowers were stamped on the piece that was left over & cut down to a smaller size.
Have a great weekend! Thanks for looking. ~~Rita~~
Thursday, June 15, 2006
Green & Yellow

We had our last Stamp Club meeting last Saturday & this is one of the cards we made. We also did a photo album & a grocery list refrigerater magnet.
Thanks for looking...
~~Rita~~
Wednesday, June 14, 2006
Thank You

Today's entry is a quick & easy Thank You Card. I like these because you can make them so quickly. The center piece is a floral background stamp cut & layered on the green & then attached to the actual card. The tag is layered & tied to the ribbon. These can be done in any color combination & for any occasion. Thanks for looking.
~~Rita~~
Tuesday, June 13, 2006
Kissing Flower

This is a new technique called Kissing. I thought I would give it a try with this flower. You ink up a background stamp & then "kiss" another stamp to it & stamp. This was a lot of fun to do. Maybe I should have done the butterfly too.
Thanks for looking~~~~~Rita
Monday, June 12, 2006
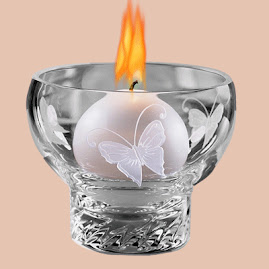
Thanks Shaker
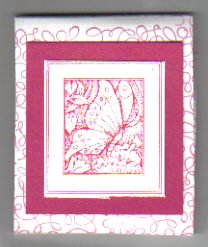
 I love these 2 colors together. Added micro beads to the shaker & layered the card on white. I don't know if you can see it, but there's a butterfly in the lower right corner. Thanks for looking~~~~~Rita~~
Friday, June 09, 2006
Sympathy
This is a simple Sympathy card. It was so easy to do. It can be done in any color or background. Thanks for looking & have a Blessed weekend.........Rita
Thursday, June 08, 2006
Gum Holder

This is a gift card that holds a pack of gum. You can stamp a sentiment on the inside. They make nice stocking stuffers or you can put it in an Easter basket. The possibilities are endless. This one is for any occasion ie; Birthday, Congratulations, Good Luck. You could probably substitute the gum for a small candy bar or bag of M&M's. Thanks for looking.....Rita
Wednesday, June 07, 2006
Over the Hill
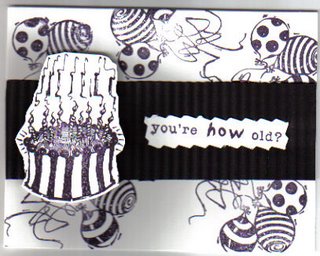 I did this one just for fun. The cake has pop dots under it to make it dimentional. Thanks for looking...
Tuesday, June 06, 2006
Sailboat

The biggest thing in cardmaking right now is a product called Magic Mesh. It comes in different colors & is sticky on the back. I found that you could use Drywall tape the same way & it looks just like the more expensive Magic Mesh. Here I colored it with a caramel color & layered it on top under the stamped image. The coloring on the sailboat was done with an Aqua painter to give it a watercolor look. Thanks for looking. All comments are welcome (good or bad).
Monday, June 05, 2006
Linen Tulips
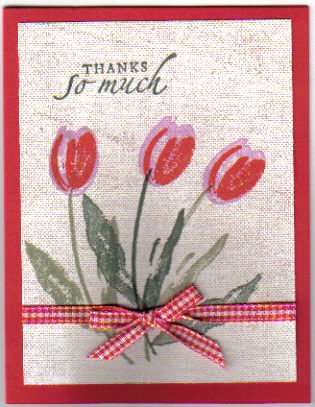
The linen look was done with a Background stamp. I stamped the tulips on top of that, layered it on the red & added a ribbon.
Thanks for looking....Rita
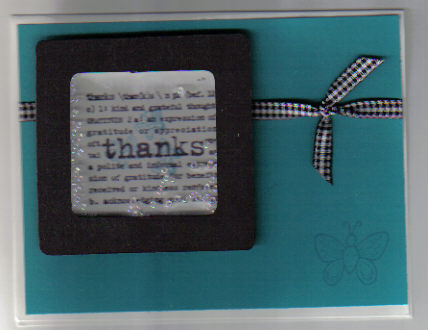
Friday, June 02, 2006
Just a Note
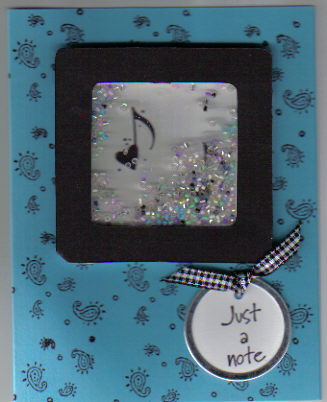
Just another Shaker Card in my favorite colors, Black & Teal.
Thanks for looking & have a Blessed weekend..........Rita
Thursday, June 01, 2006
Plum Thank You
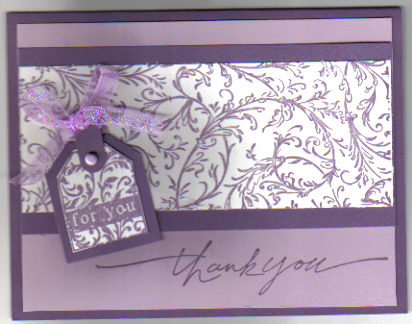
You can't get any easier than this. Stamp a background & cut a strip from that. Layer it on top of the second layer (color) of the card. The tag is another stamp that just happened to match the background. I layered that & added a tab that I made with a slot punch. Attached a brad & tied a ribbon through the tag tab. This card can also be used for other occasions by changing the saying. Thanks for looking...........Rita
Subscribe to:
Posts (Atom)